


By default, Docker containers are writeable. When a container is running, it has its own isolated file system, separate from the host system and other containers. This isolated file system allows read and write operations within the container.
Any changes made to files or directories inside a running container are stored in the container's writable layer, also known as the container's "container layer." This layer sits on top of the container's base image layers. When a container is stopped or removed, the changes made in the container's writable layer are discarded.
This writeable layer enables containers to allow applications running inside the containers to write data to the file system, modify configuration files, and store persistent data within the container.
However, by default, Docker containers are not persistent. Any data or modifications made inside a container's writable layer will be lost when the container is stopped or removed. To preserve data between container instances, you can use Docker volumes
suppose you have an application inside a container it has to read some files from the host operating system and the container doesn't know how to read those files in that case you can use Bind mounts to mount files and directories from the host machine into the container.
What is docker volume?
A Docker volume is a directory or file that exists outside the File System of a container. It is created and managed by Docker, and it provides a mechanism for storing and accessing data from within a container. Volumes can be mounted into one or more containers, allowing those containers to read from and write to the same shared data, you can also create an external docker volume (in s3 or EC2) in docker.
Docker volumes advantages:
Data persistence: Volumes allow data to persist beyond the lifecycle of a container. If a container is stopped or removed, the data stored in a volume remains intact. This is particularly useful for databases, file uploads, and any other data that needs to be retained.
Sharing data between containers: Multiple containers can access and share the same volume, enabling easy data sharing and communication between containers. This is beneficial in microservices architectures or when containers need to collaborate or share resources.
Backup and migration: Volumes provide a convenient way to back up or migrate data. Since the data is stored outside the container, it can be easily backed up or transferred to another environment or host.
What is Bind Mount?
A bind mount in Docker is a mechanism that allows you to directly mount a directory or file from the host machine into a container. Unlike volumes, which are managed by Docker, bind mounts provide a way to access and share files between the host and the container by mapping a host directory to a directory inside the container.
With bind mounts, changes made in the container are immediately visible on the host machine, and changes made on the host are reflected inside the container. This makes bind mounts suitable for scenarios where you need to actively work with files on the host and have those changes reflected in the container or vice versa.
Bind Mounts advantages -
Flexibility: You can access and modify files directly on the host machine, using any tools or editors available on the host. This is particularly useful during development or when you need to work with files that are regularly updated outside of the container.
Persistence: Data stored in bind mounts is not tied to the lifecycle of the container. Even if the container is stopped or removed, the data remains accessible on the host machine.
Shared access: Multiple containers can access and modify the same bind mount, enabling easy sharing of files or data between containers.
Integration with host system: Bind mounts allow seamless integration with the host machine's file system, enabling access to host-specific files, configurations, or resources.
Volumes vs Bind Mounts
Voiumes | Bind Mount |
|---|---|
Easy backups and recoveries | There is a bit of complexity involved in backup and recovery. You don't have to worry about it if you know what folders to backup |
To mount it, you only need the volume name. Paths are not required. | It is necessary to provide a path to the host machine when mounting with bind mounts. |
Containers can have volumes created while they are being created. | The mount folder will be created when the host machine doesn't contain the folder. |
There are APIs and CLIs for interacting with Docker volumes. | Using CLI commands, you cannot access bind mounts. The host machine still allows you to work with them instantly. |
The volumes are stored in | A bind mount can reside anywhere on a host computer. |
How to create a Docker volume?
To create a Docker volume, you can use the docker volume create command.
docker volume create Volume-name
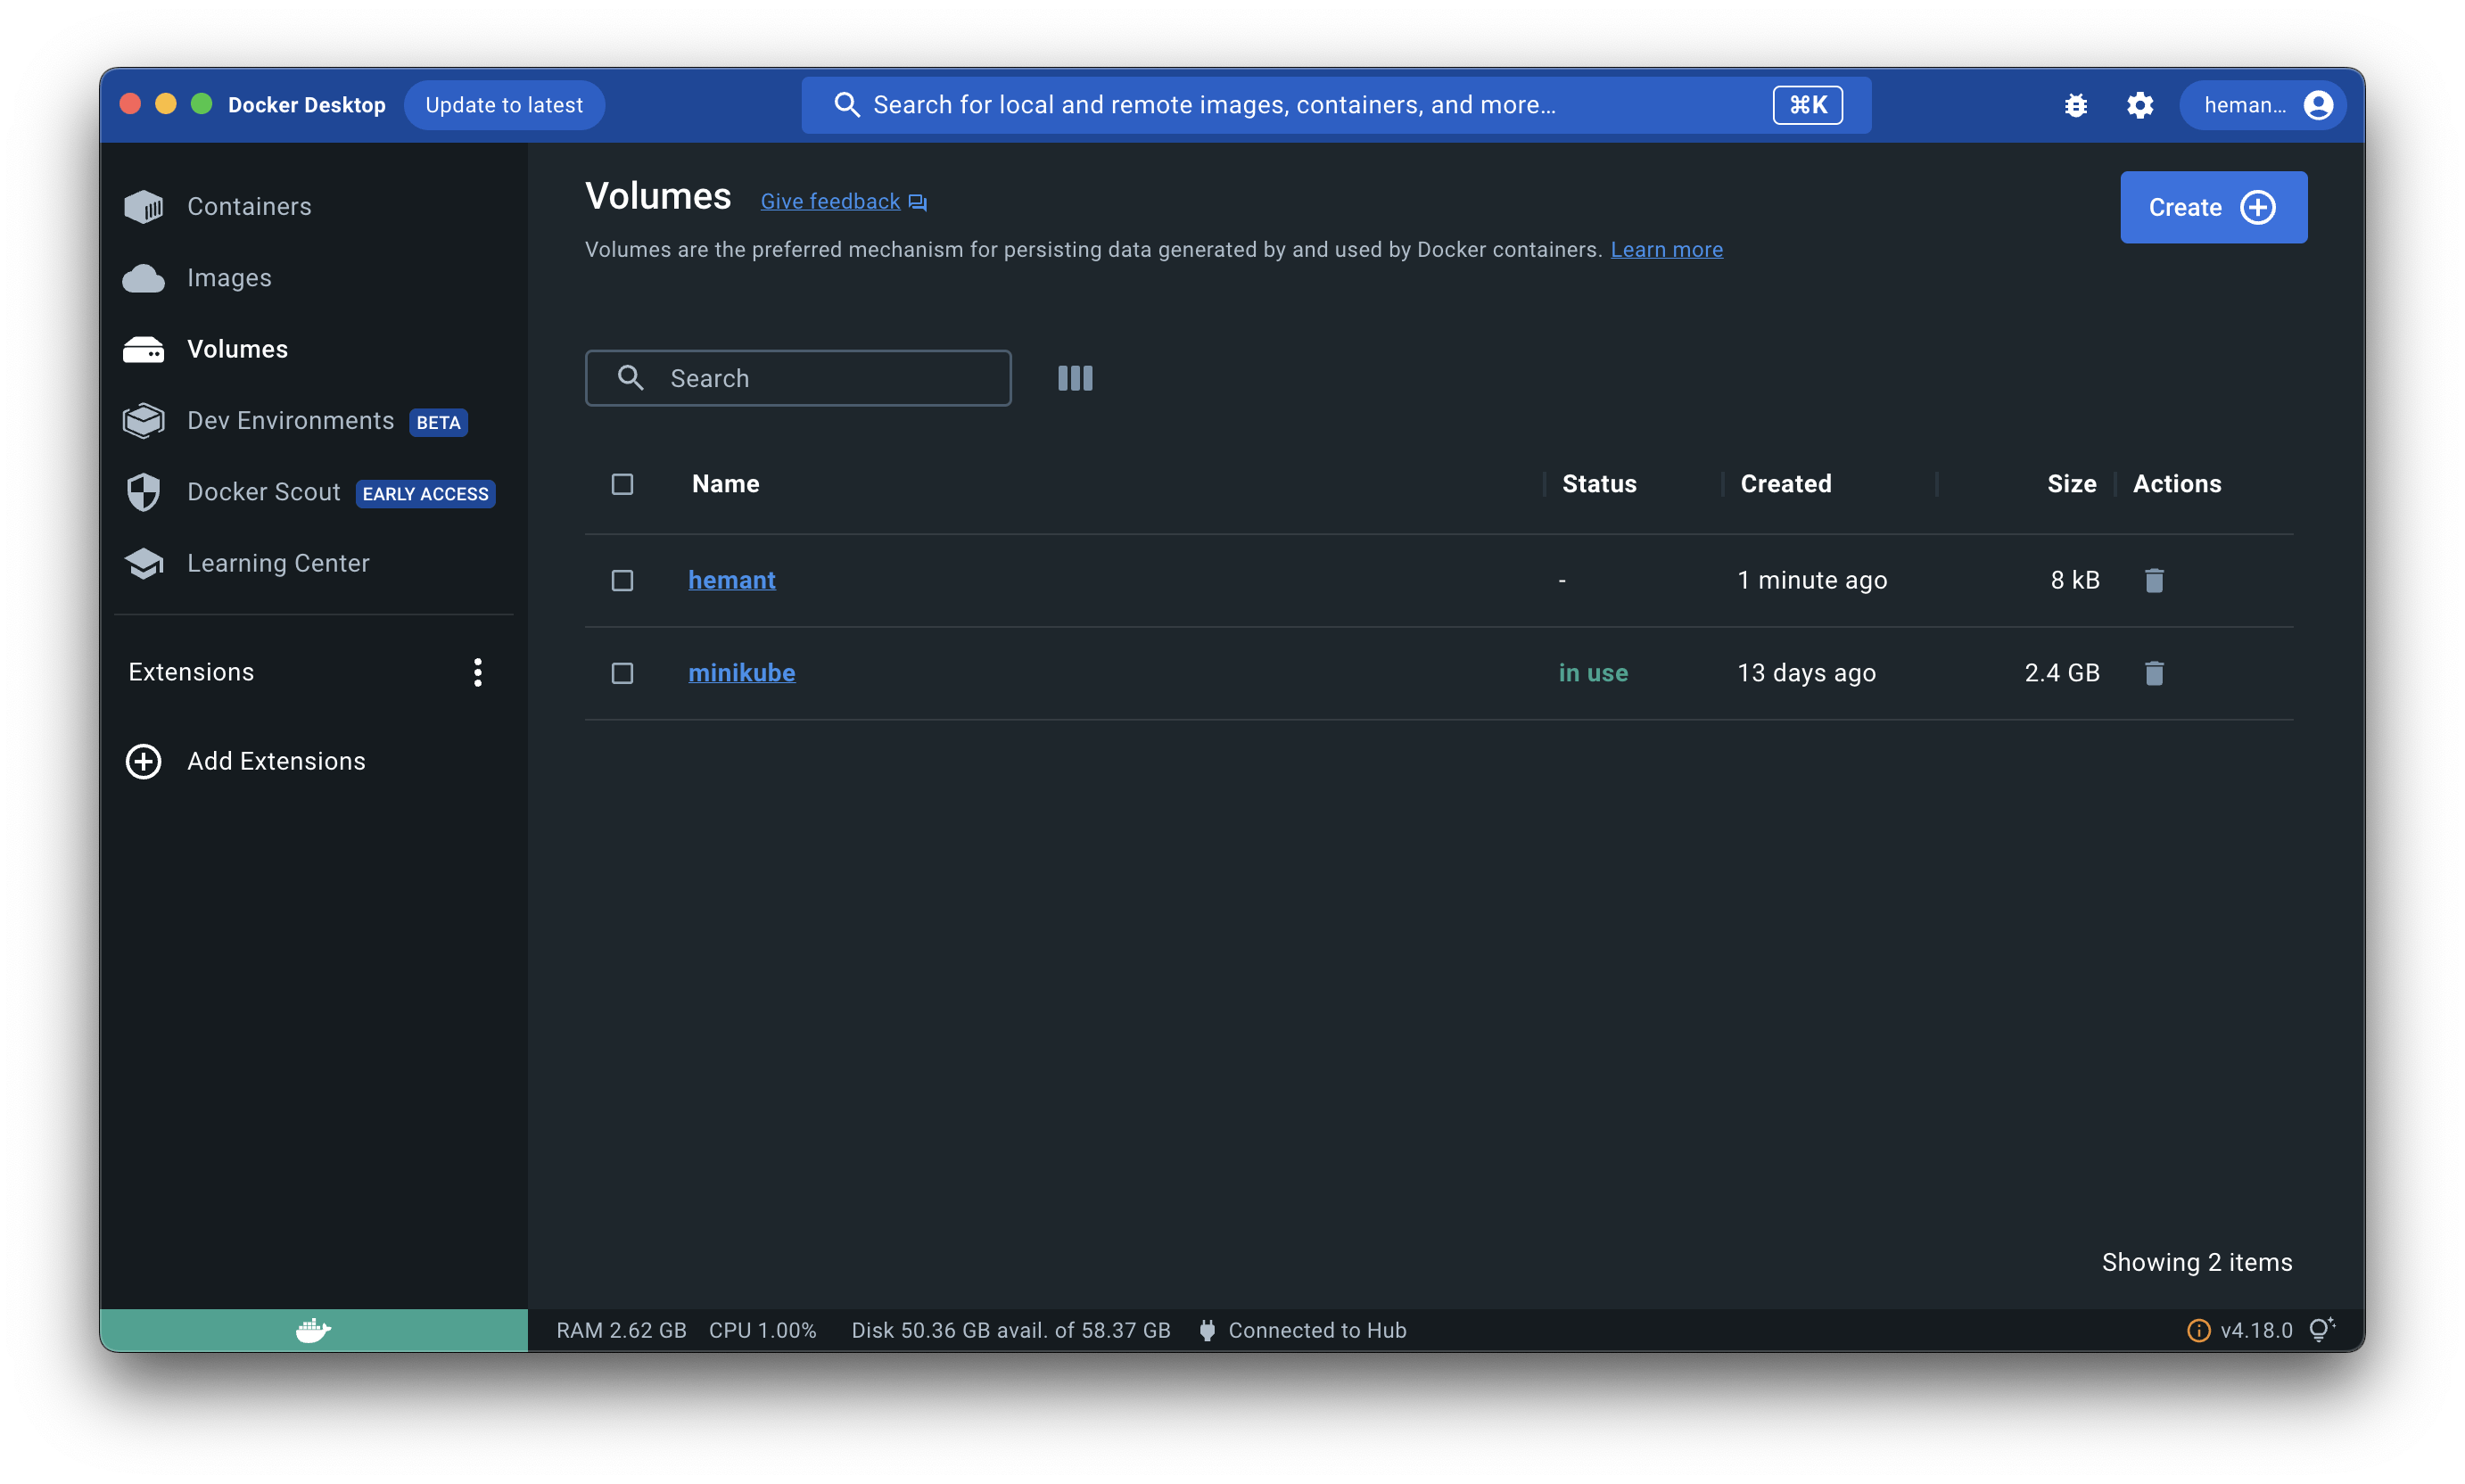
To list all the volume use docker volume ls commnand

you can also see this in docker desktop volumes
To inspect all the information about creates volume like when volume is created and where this volume saved, for that you can use
docker volume inspectdocker volume inspect volume-name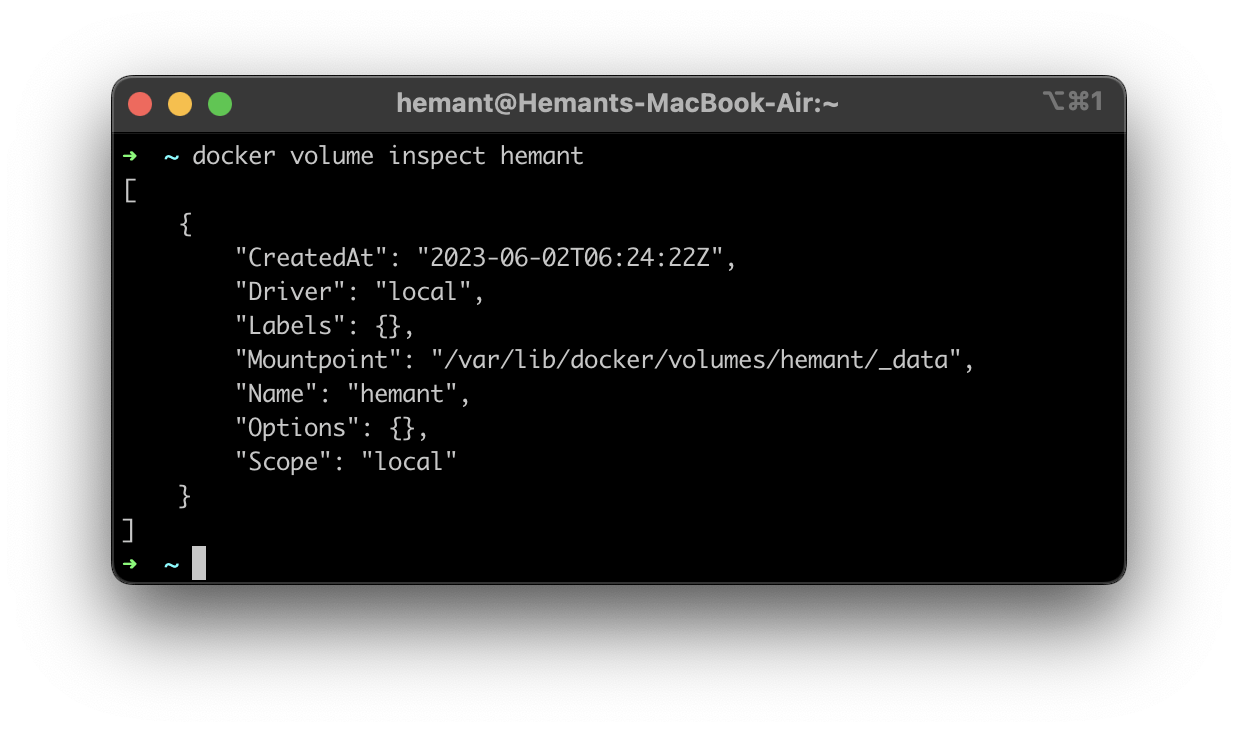
To delete a volume you can use
docker volume rmcommand.docker volume rm volume-name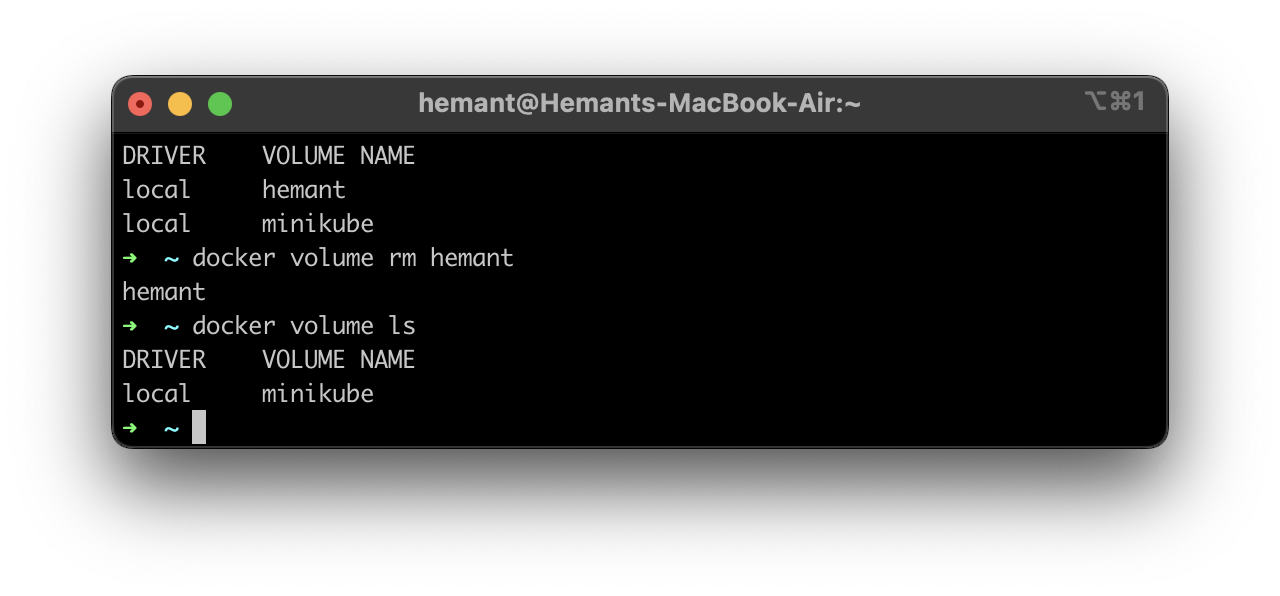
you can also delete multiple volumes by just specifying the name of the volume in single command.
Let's How to mount a volume to a container
First, create a docker image if you have any existing docker image you can use that image also -
To create a image first clone this repo
my-repoand change the directory to py-appgit clone https://github.com/hemant-sw/docker-workflow.git cd docker-workflow/py-appTo build an image use this commad
docker build -t volume-demo .
To see image is created or not use this command
docker images
As you can see that image is built successfully.
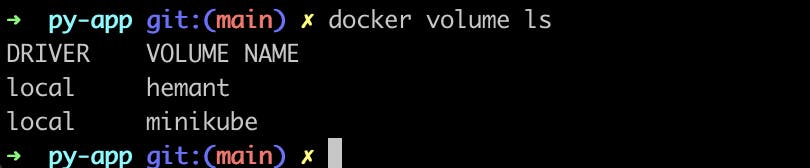
Now create a docker volume with the steps that are mentioned above
Now to mount a volume to container you use this command
docker run -d --mount source=hemant,target=/app volume-demo
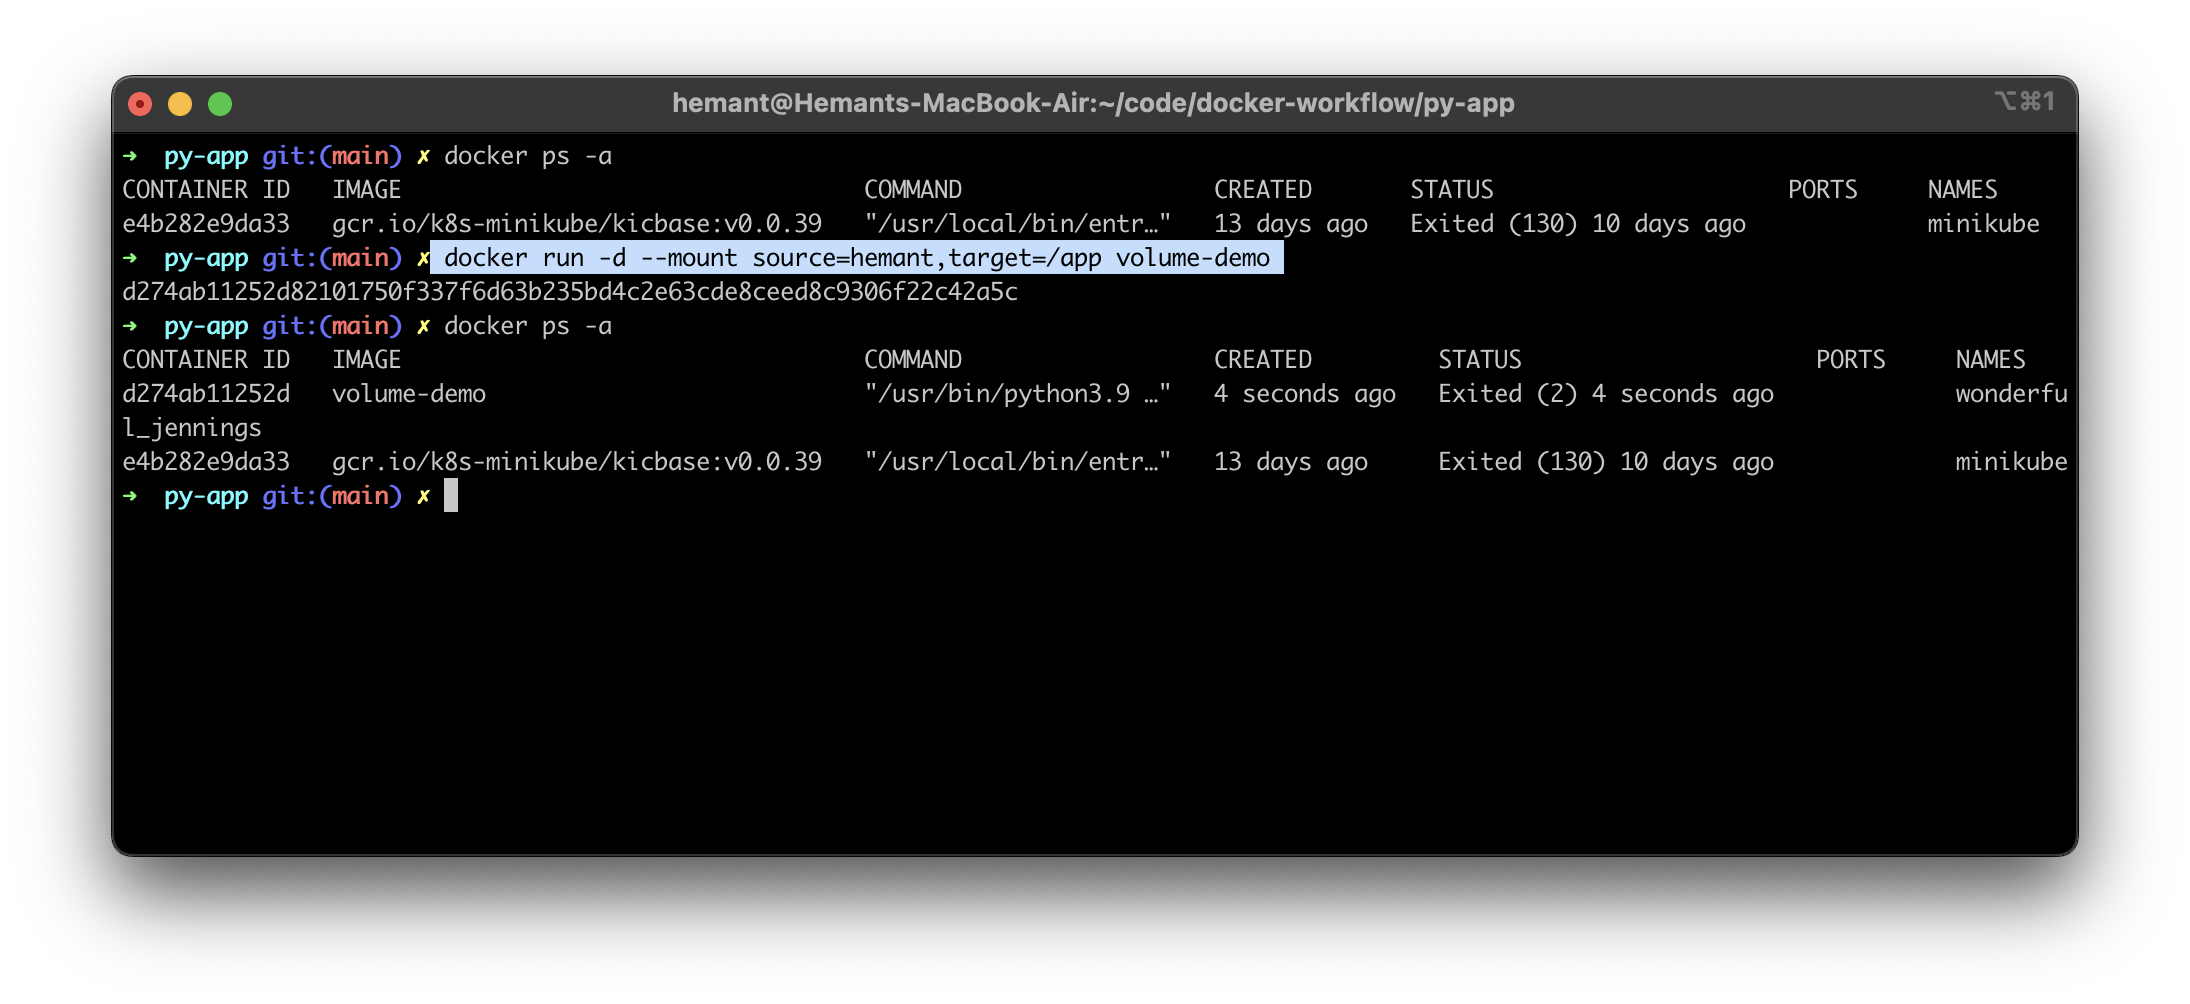
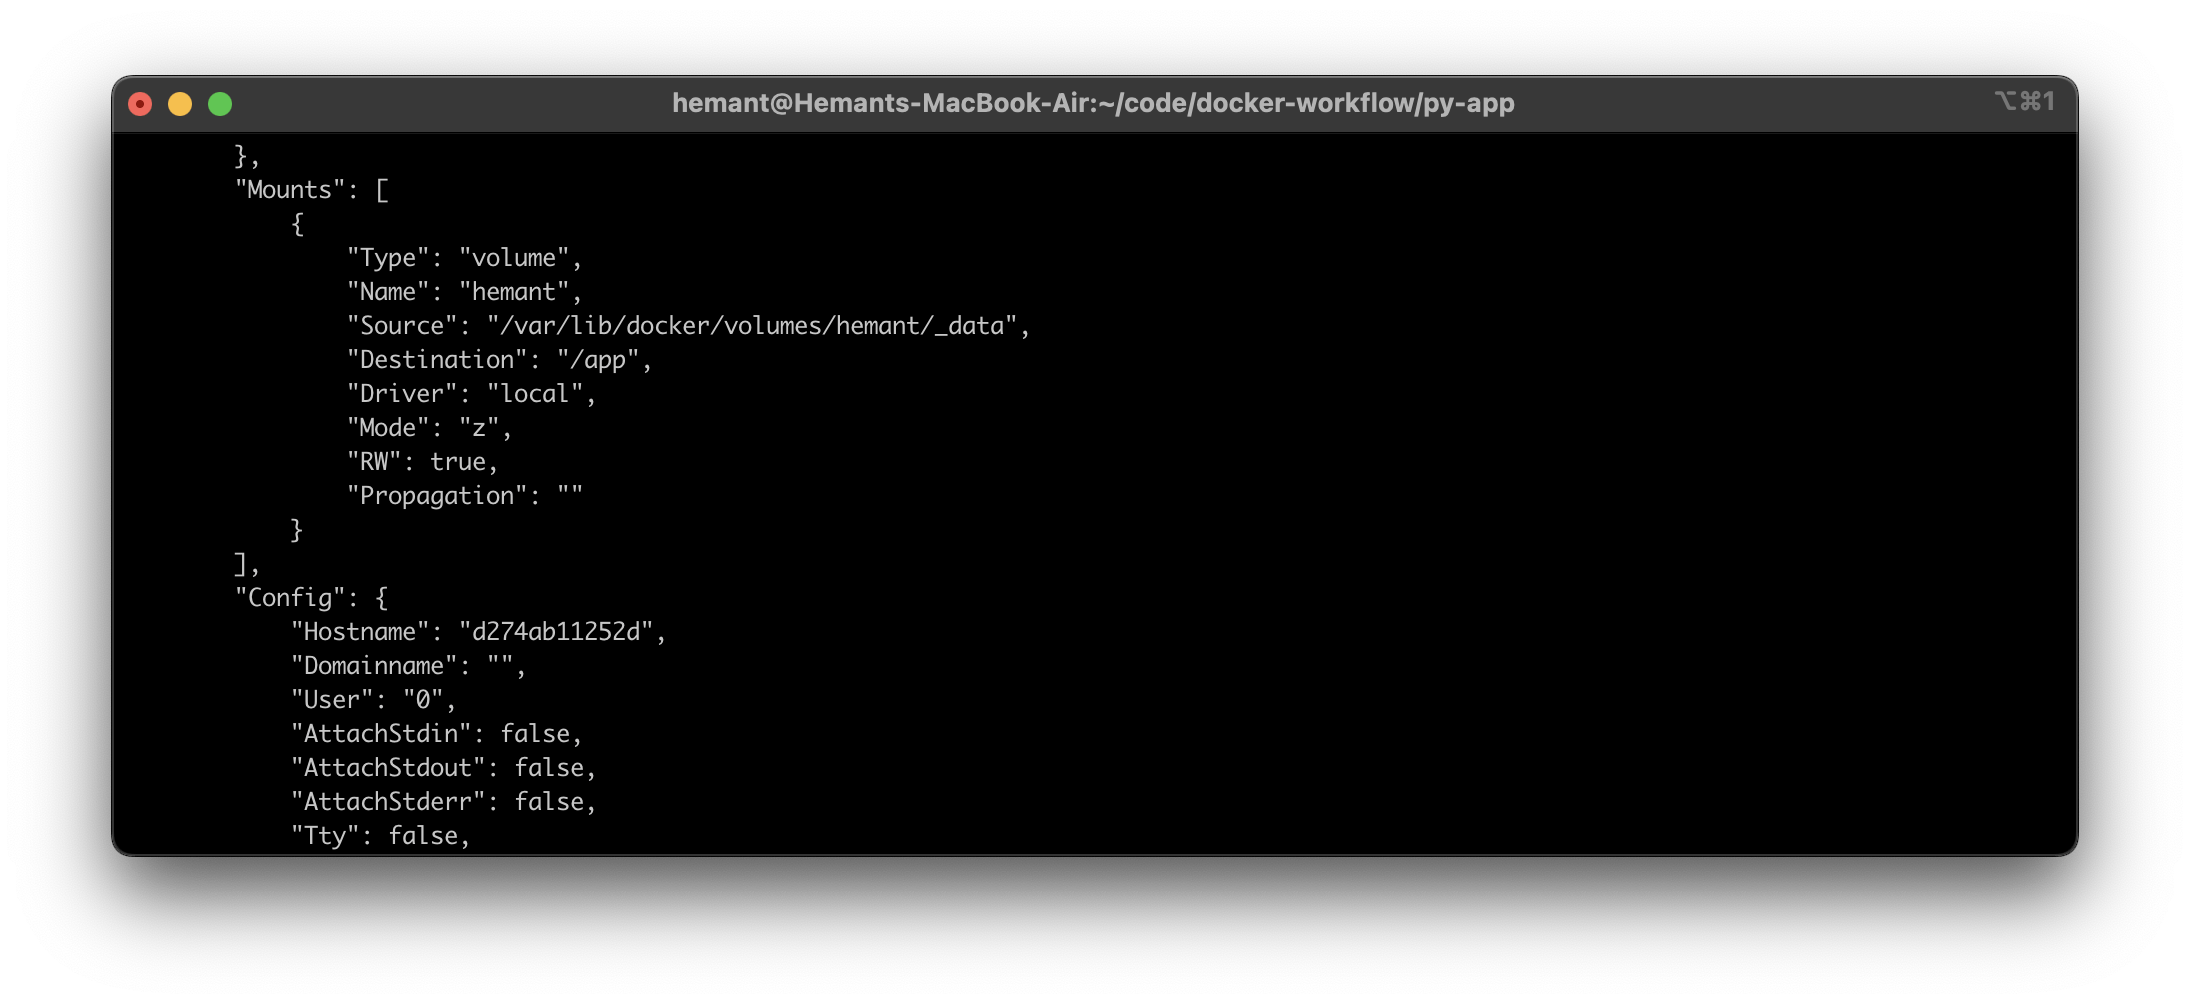
To check the container has mount or not for that use this command
docker inspectdocker inspect volume-demowhen you execute this command it will display thr mounts in mount section
If you want to delete the volume first you need to stop the container by using
docker stop container-nameand finally, you can delete the volumedocker container stop volume-demo docker container rm volume-demo docker volume rm hemantSo, by this approach, you can delete the volume.